How to freeze meals properly for later
Domain specialist and verified guide author at HowToHub.
🎯 Quick Guide Summary & Core Answer
Here is the direct answer on how to freeze meals properly for later in 9 sequential steps:
⚡ TL;DR / Key Takeaways
- Follow a structured, expert-verified sequence of 9 steps to successfully freeze meals properly for later.
- Focus on the critical milestones: Pick Freezer-Friendly Meals and Know Your Freezer’s Limits (Continued).
- Read the fact-checked tips and warnings to avoid common pitfalls during execution.
Step-by-Step Instructions
Pick Freezer-Friendly Meals
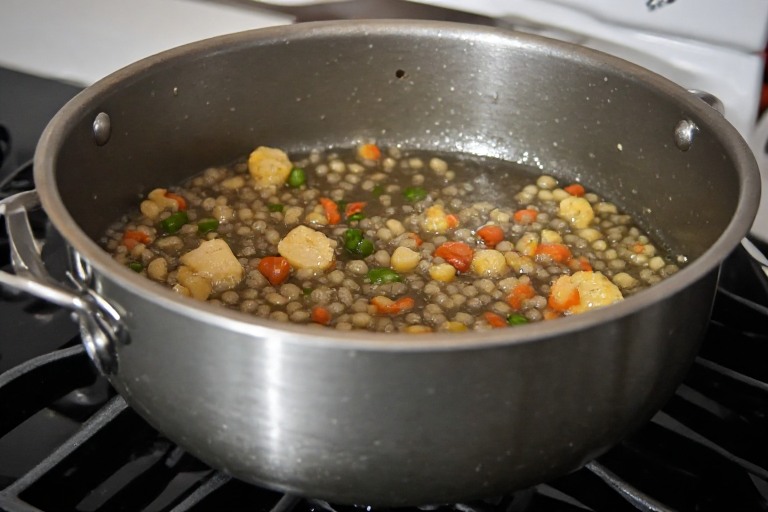
Not everything freezes well, so start by choosing dishes that’ll hold up. Think hearty soups (like chicken noodle or lentil), stews, chili, casseroles (lasagna, enchiladas), and sauces (marinara, curry). Even cooked grains like rice or quinoa freeze beautifully. Avoid anything with high water content—raw veggies like lettuce or cucumbers turn to mush, and creamy dishes with mayo or sour cream can separate. If you’re unsure, do a quick test: freeze a small portion, thaw it, and see how it holds up. Pro tip: meals with strong flavors (think spices, garlic, or herbs) freeze better than bland ones because freezing can dull flavors slightly.
Cool Your Meals Quickly
Never toss a piping-hot pot straight into the freezer—it’ll raise the temperature inside and thaw nearby items, plus it can take forever to freeze solid. Instead, cool your meal as quickly as possible. Spread it out in a shallow container (like a baking sheet) to increase surface area, or place the pot in an ice bath and stir occasionally. For soups or sauces, you can even divide them into smaller containers to speed up cooling. Aim to get your food to room temperature within 2 hours—any longer and you risk bacterial growth. Once it’s cool, transfer it to your freezer-safe containers or bags. If you’re in a hurry, cut large pieces of meat or casseroles into smaller portions before cooling.
Portion Like a Pro
Freezing meals in the right portions saves you from thawing more than you need (and avoids the dreaded freezer burn from refreezing). For family meals, use containers that hold 1-2 servings—think mason jars, reusable plastic containers, or even silicone muffin tins for single portions of sauces or baby food. If you’re freezing proteins like chicken breasts or ground beef, portion them into meal-sized amounts (e.g., 1 lb of ground beef for tacos or 2 chicken breasts for stir-fry). For casseroles, slice them into individual portions before freezing so you can grab just what you need. And don’t forget to leave a little headspace—liquids expand when frozen, so fill containers only ¾ full to avoid cracks or leaks.
Wrap and Seal Tightly
Air is the enemy of frozen food—it causes freezer burn, which dries out your meals and leaves them tasting bland. To protect your food, use airtight containers, heavy-duty freezer bags, or vacuum sealers. If you’re using bags, squeeze out as much air as possible before sealing. For extra protection, wrap items like bread, burritos, or casserole slices in plastic wrap or aluminum foil before placing them in a bag. For soups or sauces, mason jars work great, but make sure to leave that 1-inch headspace at the top. If you’re freezing something with a strong odor (like fish or curry), double-bag it to prevent the smell from spreading to other foods. And always label everything—trust me, you won’t remember what that mystery container is in 3 months!
Label Everything Clearly
You might think you’ll remember what’s in that container or bag, but let’s be real—freezer amnesia is real. Grab a permanent marker and label each item with the name of the dish and the date you froze it. Include any reheating instructions if it’s not obvious (e.g., “Thaw overnight, bake at 350°F for 20 mins”). This saves you from playing the guessing game later and helps you rotate your stock so nothing gets forgotten in the back of the freezer. If you’re freezing multiple batches of the same meal, add a number (e.g., “Chili Batch #1, 10/15/23”). For extra organization, keep a running list on your fridge or in a notes app of what’s in your freezer and when it was added. That way, you can plan meals around what needs to be used up first.
Freeze Flat for Easy Storage
Flat freezing is a total space-saver and makes stacking a breeze. For soups, sauces, or stews in bags, lay them flat on a baking sheet or tray until they’re frozen solid, then stack them vertically like files in a drawer. This way, you can see everything at a glance and grab just what you need. For casseroles or lasagnas, freeze them in disposable aluminum pans so you can stack them neatly. If you’re freezing burgers, meatballs, or patties, place a piece of parchment paper between each one so they don’t stick together. And if you’re tight on space, consider investing in stackable freezer bins to keep things organized. The goal is to maximize your freezer real estate so you can fit more meals without turning it into a jumbled mess.
Thaw Safely and Reheat Properly
Thawing and reheating might seem straightforward, but doing it wrong can ruin your meal or even make you sick. The safest way to thaw frozen meals is in the fridge overnight—this keeps the food at a safe temperature while it defrosts. For a quicker option, use the microwave’s defrost setting or submerge the sealed bag in cold water (change the water every 30 minutes). Never thaw food on the counter—bacteria can multiply rapidly at room temperature. When reheating, make sure your meal reaches 165°F (74°C) to kill any bacteria. Soups and sauces can go straight from frozen to a pot on the stove (just add a splash of water or broth), while casseroles or baked dishes should be thawed first and reheated in the oven. And if you’re reheating in the microwave, cover the dish with a damp paper towel to keep it from drying out.
Know Your Freezer’s Limits
Even the best-frozen meals won’t last forever. Most cooked meals stay at their best quality for 2-3 months, while raw proteins like chicken or beef can last up to 9-12 months. Bread and baked goods are usually good for 1-3 months, and herbs or sauces can last 3-6 months. To keep track, use the “first in, first out” rule: place newer items at the back of the freezer and move older ones to the front so you use them up first.
Know Your Freezer’s Limits (Continued)
If you notice freezer burn (those icy white spots), don’t panic—it’s safe to eat, but the texture might be off. To prevent it, make sure your freezer stays at 0°F (-18°C) or below. And if your freezer is packed to the brim, it’s time to do a “freezer clean-out” meal night to make space for new batches. Trust me, your future self will thank you when you’re not digging through a freezer graveyard of forgotten meals.
Was this step-by-step guide helpful?
Your feedback helps us keep our guides accurate and clear.
📚 Authority Sources & Citations
This step-by-step guide is aligned with references and verification guidelines from the following trusted authorities: