How to winterize your home on a budget
Domain specialist and verified guide author at HowToHub.
🎯 Quick Guide Summary & Core Answer
Here is the direct answer on how to winterize your home on a budget in 6 sequential steps:
⚡ TL;DR / Key Takeaways
- Follow a structured, expert-verified sequence of 6 steps to successfully winterize your home on a budget.
- Focus on the critical milestones: Seal Those Pesky Drafts and Check Your Attic and Basement for Gaps.
- Read the fact-checked tips and warnings to avoid common pitfalls during execution.
Step-by-Step Instructions
Seal Those Pesky Drafts
Drafts are the sneaky culprits that let cold air in and warm air out, making your heating system work overtime. Start by checking around windows, doors, and even electrical outlets—yes, those can leak air too! For a quick fix, grab some weatherstripping or caulk from your local hardware store. It’s cheap (like, under $10 for a roll) and super easy to apply. Just peel and stick the weatherstripping around the edges of doors and windows, or use caulk to seal gaps. If you’re feeling crafty, you can even make a draft stopper with an old sock or towel stuffed with rice or fabric scraps. It’s not glamorous, but it works. Focus on the areas where you feel the most drafts—usually the front door or that one window that’s always a little too chilly.
Give Your Heating System Some TLC
Your heating system is the MVP of winter, so show it some love before the cold hits. Start by replacing the air filter—this is one of the easiest and cheapest ways to improve efficiency. A dirty filter makes your system work harder, which means higher energy bills. You can grab a new one for under $20, and it takes about two minutes to swap out. If you have a furnace, consider having it professionally serviced if it’s been a while. A tune-up can cost around $100, but it’s worth it to avoid a mid-winter breakdown. While you’re at it, bleed your radiators if you have hot water heating. Trapped air can make them less efficient, and bleeding them is as simple as turning a valve with a radiator key (which you can find for a few bucks online).
Reverse Your Ceiling Fans
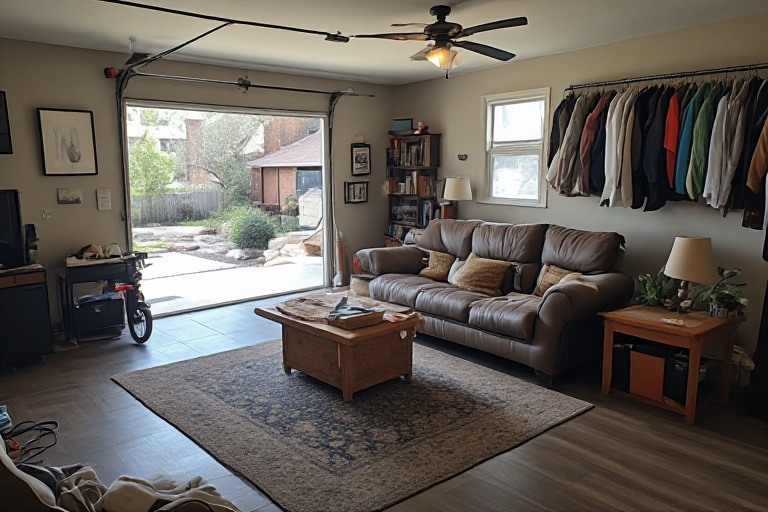
This one’s so simple, you’ll wonder why you didn’t think of it sooner. Most ceiling fans have a little switch on the side that lets you reverse the direction of the blades. In the winter, set them to spin clockwise at a low speed. This creates an upward draft that pushes warm air down from the ceiling, helping to circulate heat throughout the room. It’s a small change, but it can make your space feel noticeably warmer without cranking up the thermostat. If you don’t have ceiling fans, no worries—just grab a few portable fans and place them near heat sources (like radiators or vents) to help distribute warm air. It’s a free or nearly free way to make your heating system more effective.
Wrap Your Pipes to Prevent Freezing
Frozen pipes are a nightmare—no one wants to deal with the mess (or the cost) of a burst pipe. The good news? Preventing it is easy and cheap. Start by insulating any exposed pipes, especially those in unheated areas like basements, attics, or crawl spaces. You can use foam pipe insulation, which costs about $1 per foot and slides right onto the pipe. For extra protection, wrap pipes with heat tape or heating cables. These are a bit pricier (around $20-$50), but they’re a lifesaver if you live in an area with extreme cold. Don’t forget about outdoor faucets—disconnect hoses and drain them, then cover the faucets with insulated covers (you can find these for under $10). If you’re expecting a deep freeze, let a trickle of water run from faucets connected to exposed pipes. It’s not ideal, but it’s better than dealing with a plumbing disaster.
Add Rugs and Curtains for Extra Warmth
Hard floors like tile, hardwood, or laminate can feel like ice blocks in the winter, but you don’t need to install carpet to fix it. Throw rugs are an affordable way to add insulation and warmth to any room. Hit up a thrift store or discount retailer like TJ Maxx or HomeGoods for some budget-friendly options. Layering rugs can also help—just make sure they have a non-slip pad underneath to avoid accidents. Curtains are another easy win. Thick, heavy curtains can block drafts and keep heat in, especially if you hang them floor-to-ceiling. Open them during the day to let sunlight in (free heat!), then close them at night to trap warmth. If you’re feeling creative, you can even line your existing curtains with thermal fabric or an old blanket for extra insulation. It’s a small change that makes a big difference in how cozy your home feels.
Check Your Attic and Basement for Gaps
Attics and basements are often overlooked when it comes to winterizing, but they can be major sources of heat loss. Start by checking your attic insulation—if it’s thin or nonexistent, you’re basically heating the great outdoors. Adding insulation can be a DIY project if you’re handy, or you can hire a pro if it’s a bigger job. For a quick fix, lay down some fiberglass batts or blown-in insulation (you can rent the machine for a day). In the basement, look for gaps around pipes, vents, or wiring. Seal them with expanding foam or caulk to keep cold air out. If your basement has windows, treat them like the ones in your main living space—insulate them with plastic film or thermal curtains. Don’t forget to check for cracks in the foundation, too. A little sealant can go a long way in keeping your home warm and dry.
Was this step-by-step guide helpful?
Your feedback helps us keep our guides accurate and clear.
📚 Authority Sources & Citations
This step-by-step guide is aligned with references and verification guidelines from the following trusted authorities: