How to screenshot on every device
Domain specialist and verified guide author at HowToHub.
🎯 Quick Guide Summary & Core Answer
Here is the direct answer on how to screenshot on every device in 6 sequential steps:
⚡ TL;DR / Key Takeaways
- Follow a structured, expert-verified sequence of 6 steps to successfully screenshot on every device.
- Focus on the critical milestones: Capture screen details on Windows computers and Utilize browser developer tools for screenshots.
- Read the fact-checked tips and warnings to avoid common pitfalls during execution.
Step-by-Step Instructions
Capture screen details on Windows computers
Windows offers several built-in methods to capture your screen, depending on your needs. The quickest way is pressing the 'PrtScn' key to copy the entire screen to your clipboard, which you can paste into any image editor. To select a specific area, use the shortcut Windows Key + Shift + S to launch the Snipping Tool. This tool allows you to draw a rectangular, freeform, or window cutout. The screenshot is saved to your clipboard and triggers a notification where you can edit, crop, or save the image. For more advanced features, you can refer to the official [Microsoft Support Snipping Tool Guide](https://support.microsoft.com/en-us/windows/use-snipping-tool-to-capture-screenshots-00246865-f805-39c8-1088-7c8dbb251a3d). This process guarantees that high-resolution assets are captured clean without third-party tools. To ensure maximum security and privacy, you should always keep your device's operating system and all security software updated to the latest version.
Record screen actions on macOS computers
Apple macOS provides simple keyboard shortcuts that give you precise control over your captures. Press Command + Shift + 3 to take a snapshot of your entire screen, which appears as a thumbnail in the corner and saves to your desktop. To screenshot a selected portion, press Command + Shift + 4, which turns your cursor into a crosshair you can drag across the target area. If you want to capture a specific window, press Command + Shift + 4 and then hit the Spacebar; the cursor changes to a camera icon that highlights windows. Click the window to capture it with a clean drop shadow. For further customization, access the screenshot utility menu. This ensures your desktop files remain organized and accessible for sharing.
Snap screenshots on Apple iOS devices
Taking screenshots on iPhones and iPads varies slightly depending on whether your device has Face ID or Touch ID. For iPhones with Face ID, press the Side button and the Volume Up button simultaneously, then release them quickly. For older devices with Touch ID, press the Side/Top button and the Home button at the same time. The screen will flash white, and a thumbnail will temporarily appear in the lower-left corner of your screen. Tap the thumbnail to open the markup editor, where you can crop, highlight, or add text. Here is a visual of screen capturing: 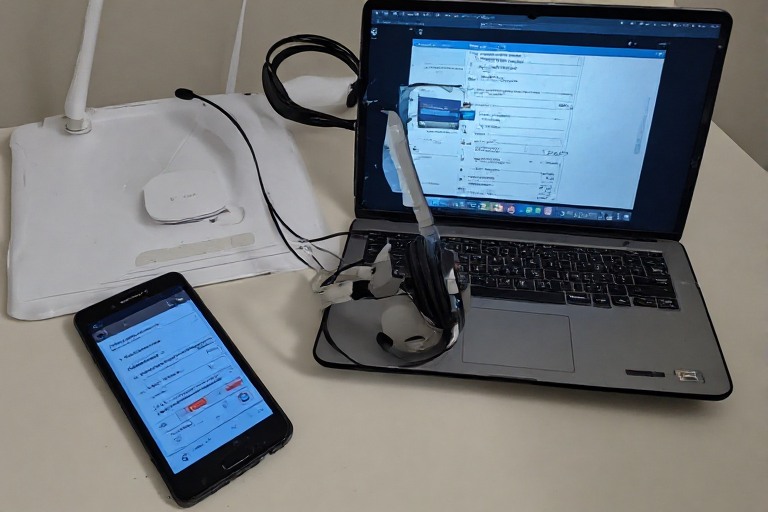 Save the final image directly to your Photos. If you need a scrolling capture, tap the 'Full Page' option at the top of the markup interface.
Save screen views on Android devices
Android devices generally share a universal screenshot shortcut, though manufacturer skins may vary slightly. Press the Power and Volume Down buttons simultaneously and hold them for a brief second. You will hear a shutter sound, and a toolbar will appear at the bottom of the screen. This toolbar allows you to edit, share, or capture a scrolling screenshot for longer pages. If your device supports gestures, you can enable options like three-finger swipe in the settings menu. To learn more about Android-specific shortcuts and how they work, check the [Google Android Help](https://support.google.com/android/answer/9075928) pages. Make sure your volume is on to hear the capture confirmation. This allows you to verify that the capture succeeded without opening your media gallery. To ensure maximum security and privacy, you should always keep your device's operating system and all security software updated to the latest version.
Capture screenshots on Chromebook devices
Chromebooks have a dedicated keyboard layout that makes capturing screenshots straightforward. Press the Ctrl + Show Windows keys (the Show Windows key has a rectangle with two vertical lines on the right, usually located in the top row) to capture the entire screen. If you only need a portion of the screen, press Ctrl + Shift + Show Windows, then click and drag the crosshair over the area you want to save. A notification will appear in the bottom-right corner, letting you copy the image to the clipboard or open it in the Files app. Chromebook screenshots are automatically saved to your Downloads folder for easy access. You can customize the default storage directory in the screen capture settings toolbar.
Utilize browser developer tools for screenshots
Web developers can capture high-resolution screenshots of complete web pages directly from their web browser. Open the developer tools by pressing F12 or right-clicking and selecting 'Inspect' on Google Chrome or Mozilla Firefox. Press Ctrl + Shift + P (Windows) or Command + Shift + P (Mac) to open the command menu. Type 'screenshot' into the search bar, and select 'Capture full size screenshot' to download a complete, high-resolution PNG of the entire webpage from top to bottom. This technique bypasses the need for third-party extensions, ensuring your browsing remains secure and private while capturing pixel-perfect layouts. It captures everything, including content hidden behind scrollable elements. To ensure maximum security and privacy, you should always keep your device's operating system and all security software updated to the latest version.
Was this step-by-step guide helpful?
Your feedback helps us keep our guides accurate and clear.
📚 Authority Sources & Citations
This step-by-step guide is aligned with references and verification guidelines from the following trusted authorities: